
I love this! DIY Woven, Bike Basket by Kittenhood. Very creative and it looks easy to do to.
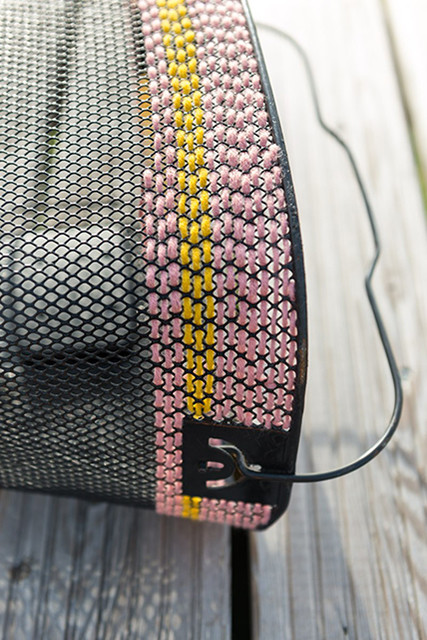
Looking for a way to add a pop of personality to your bike? This DIY woven bike basket from Kittenhood is the perfect solution! It’s a fun and easy project that anyone can do, regardless of their crafting experience.
What you’ll need:
- Yarn in a variety of colors
- Scissors
- A bike basket
- Optional: tapestry needle
Instructions:
- Cut the yarn into strips that are about 18 inches long. You can use any color combination you like.
- Start by tying one end of the yarn to the top rim of the basket.
- Begin weaving the yarn horizontally around the basket, going over and under the vertical bars of the basket.
- When you reach the end of a piece of yarn, simply tie it to the end of another piece of yarn and continue weaving.
- Once you’ve covered the entire basket to your desired fullness, tie the end of the yarn to a bar of the basket and cut off any excess yarn.
Tips:
- Use a variety of yarn colors and textures to create a unique look.
- If you want a neater finish, you can use a tapestry needle to weave in the ends of the yarn.
- This is a great project to do with kids!
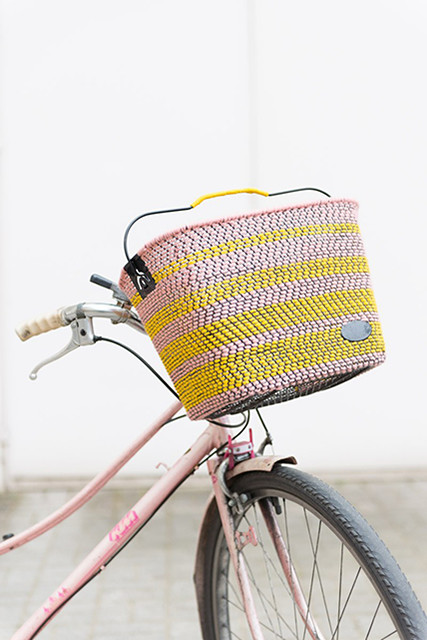

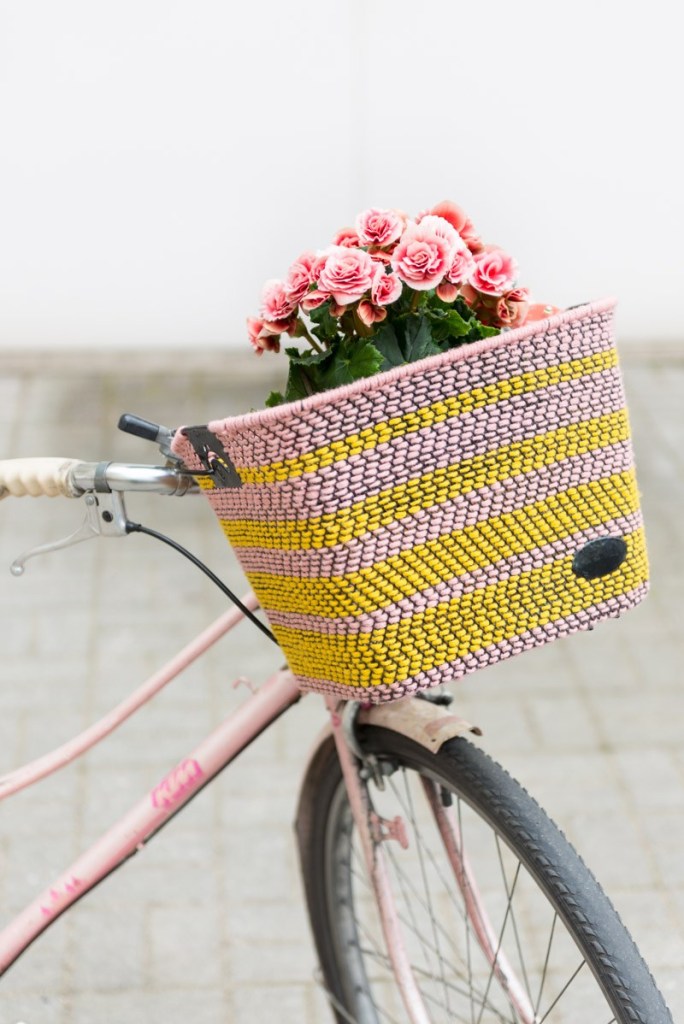
This woven bike basket is a great way to add a personal touch to your bike and make it stand out from the crowd. It’s also a practical way to protect your belongings while you’re riding. So grab your yarn and get started today!
Additional notes:
- Kittenhood does not provide instructions for weaving the basket with a tapestry needle.
- It is recommended that you search for additional resources online or in craft stores if you are unfamiliar with how to weave with a tapestry needle.
